Wednesday, November 2, 2011

Squash & Bean Enchilada Casserole


One of my friends was looking for a recipe to use up some butternut squash. This is the perfect fall recipe! In fact, it is also the perfect recipe for giving: I make this for every friend who becomes a new parent. Just put it in one of those disposable tin casserole dishes and they won't ever have to worry about returning it!
Here is the recipe - Oh! I should give credit where credit is due: I got this recipe when they were doing a cooking demonstration one day at my favorite grocery store, New Seasons. They had samples, and it was love at first taste. Enjoy!


2 cans drained black beans
4 cups cooked squash cubed and mashed
2 cans diced tomatoes – drained
1 cup diced onion
4 cloves of minced garlic
5 T olive oil
½ C chopped cilantro
2 C shredded pepper jack (or cheddar) cheese
4 t. Mexican seasoning (if you don't have any, just use chili powder, salt and a touch of cumin)
2 t. salt
12 corn tortillas
2 cans enchilada sauce
Preheat oven to 350 degrees. In a large skillet over medium heat, sauté onions and garlic with the Mexican seasoning and salt in olive oil until the onions are translucent. Combine the onions with the beans and cilantro. In a baking dish, put a layer of enchilada sauce in the bottom of the pan. Place a layer of tortillas on top, followed by half of the squash. Top the squash with half of the bean and onion mixture. Top that with half of the tomatoes. Finally, top the tomatoes with 1 C of the cheese. Cover the layers with enchilada sauce. Repeat with the remaining ingredients.

Cover and bake for about 25 minutes. Remove cover and bake an additional 10 minutes. Serve with sour cream and cilantro garnish.

Sunday, October 23, 2011

I don't think you're ready for this jelly!

That is what Mike sang to me today, so that will be my title. I hope it gets into all of your heads, just like me!
http://youtu.be/IyYnnUcgeMc

So, I finally did what I have been saying I was going to do for weeks: I made pepper jelly.
I grew an awesome pepper plant this summer and the peppers were just ripe, time to figure out what I could do with 10 spicy peppers....jelly!
As always, I researched many recipes and tweaked it to my liking (and the ingredients I had).

Helpful hint: Make sure to read all of the steps to making and canning the jelly before starting! It is always best to know what you are getting into!

Here are the ingredients :

  • 2 cups White Vinegar (make sure it is cooking grade with 5% acidity)
  • 2 packages pectin such as sure-jell
  • 6 oz (about 3/4 Cup) chopped, dried apricots
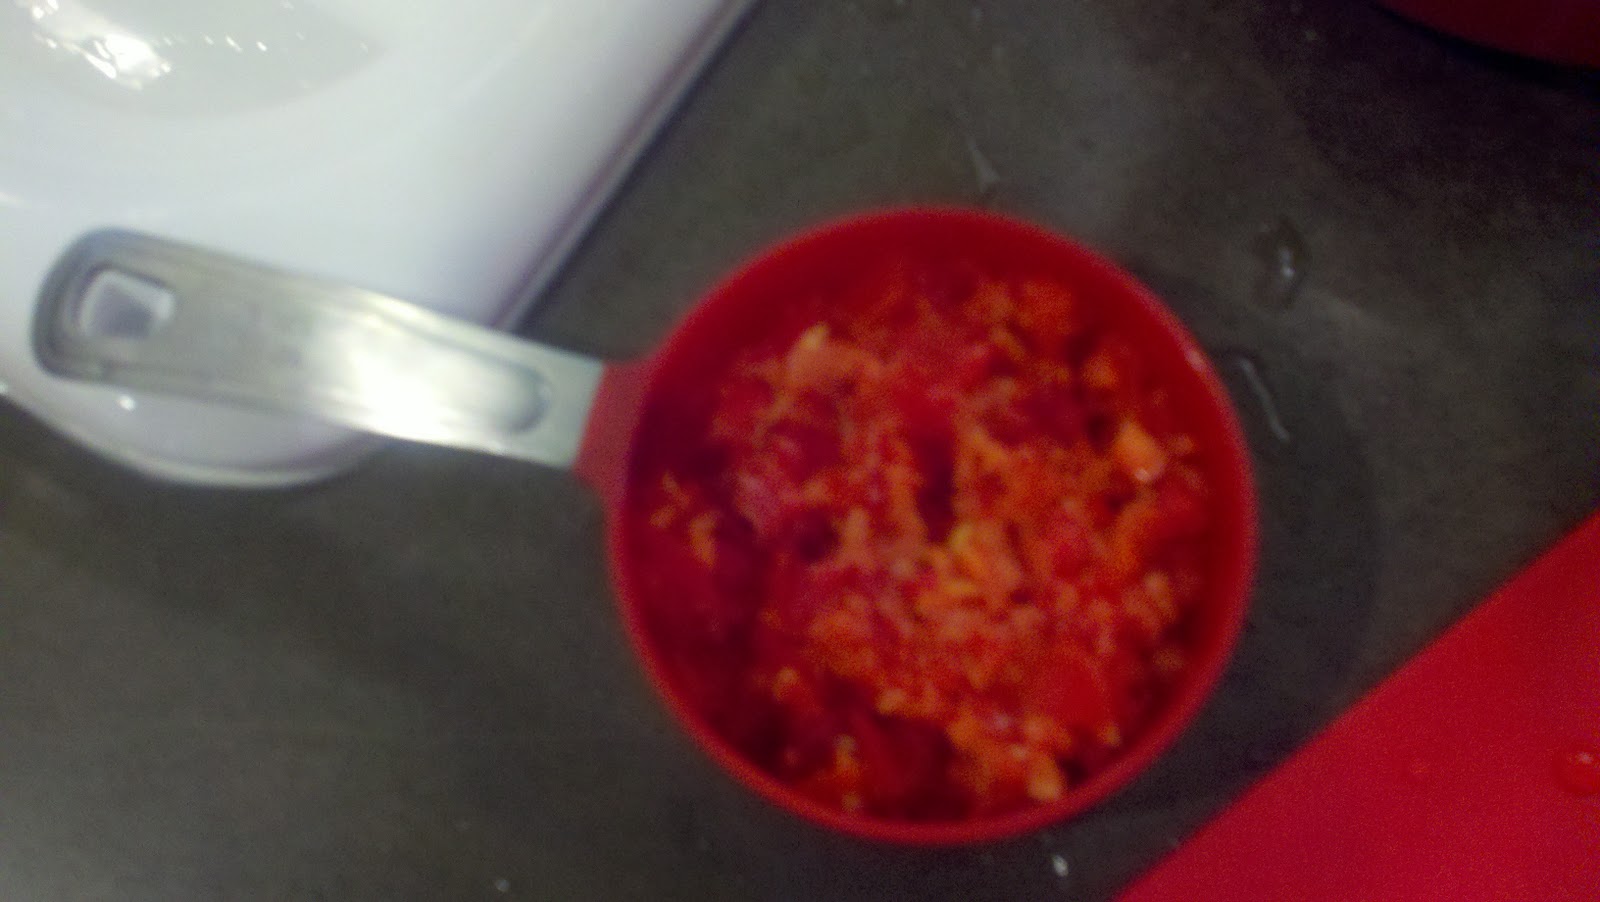
  • 1/2 cup chopped spicy peppers - such as jalapenos (make sure to take out the seeds and stems before chopping - I use a food processor for easy chopping)
  • 1/2 cup chopped red bell pepper (again, make sure to de-seed before chopping)
  • 1/2 cup chopped red onion
  • 6 cups white sugar


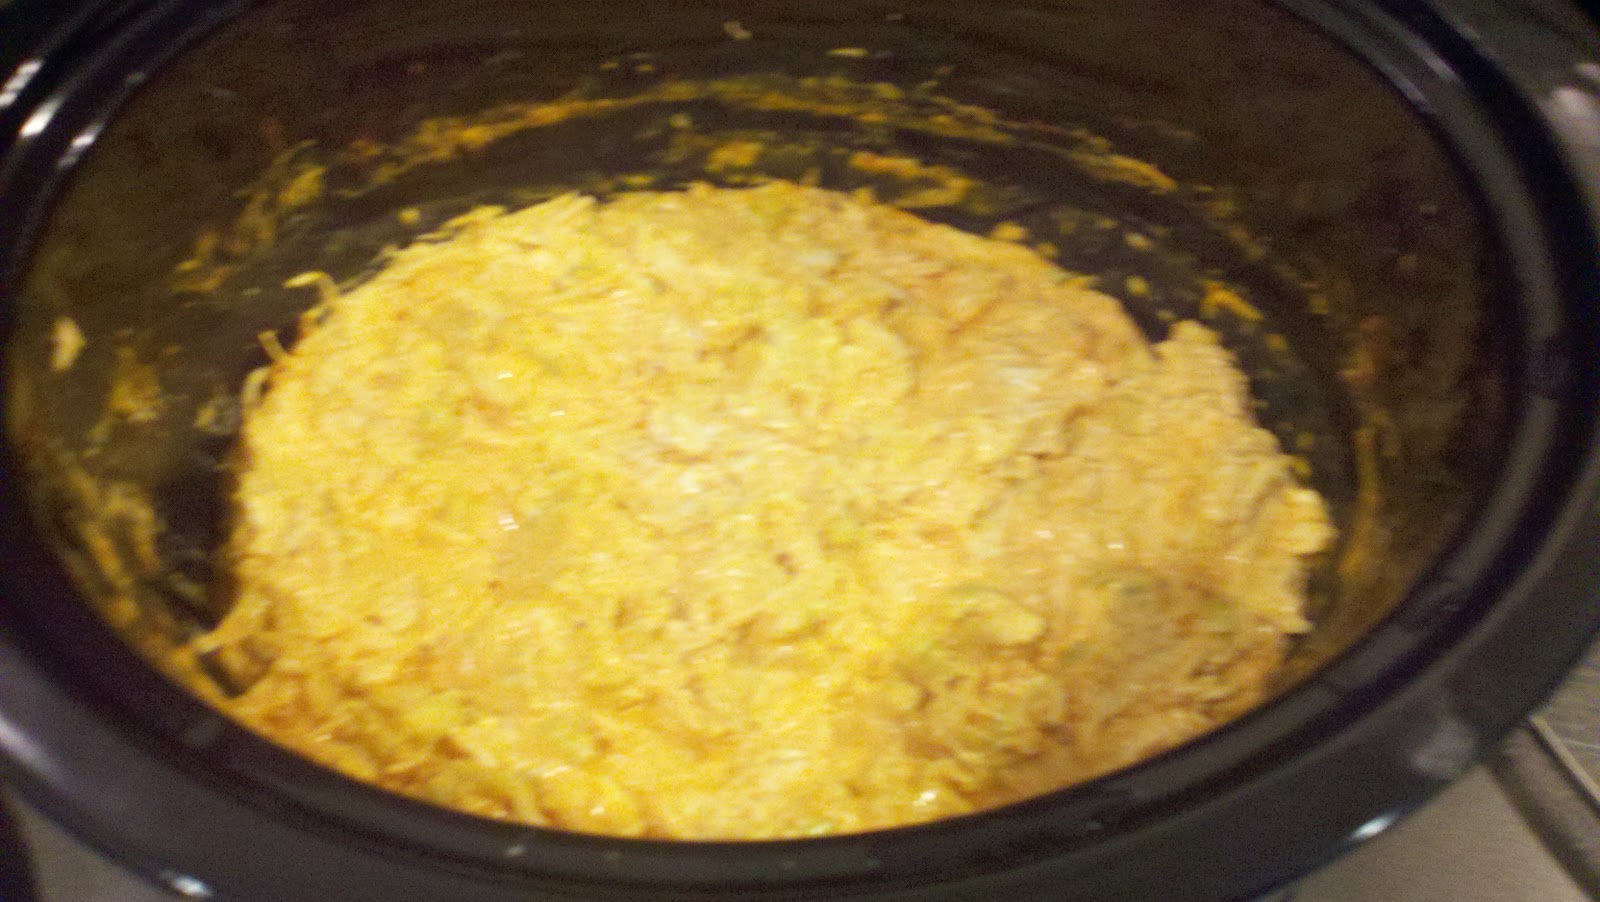
Sauce as it is cooking


WARNING: This recipe takes 2 days. It is really easy, but the apricots need to soak in the vinegar overnight.

Here is the process:
Day 1: Take a large (at least 6 quart), preferably stainless steel, pot and pour in the chopped apricots and the 2 cups vinegar, let sit overnight.
Day 2:
1. Start by chopping up all of the veggies - I really recommend a food processor for ease and consistency in the size you are chopping it in to.
2. Stir all of the peppers and onions into the vinegar and apricot mixture and turn the heat on high to start a boil.
3. While the mixture is heating, stir in 6 cups of sugar (I did a scosche less - because I used no/low sugar pectin - you will want to add a large part of the sugar though, because the apricots won't be enough to sweeten the jelly)
4. Once the mixture comes to a rolling boil (where you can't stop it by stirring), quickly add in the pectin while still stirring. Once the pectin is stirred in, take off the heat.

Now it is time to start the canning!
Okay, canning can seem daunting, but as long as you follow instructions and know a few basics, it is really easy (especially with acid based foods that don't need the use of a pressure canner).

1. For this jelly, you will need 14-16 four-ounce sterilized glass jars with rings and new lids. When I say sterilized, all this means is make sure they are brand new out of the package, or they have been run through a dishwasher on the hottest cycle (most dishwashers have an option for sterilize).
2. Put a large pot (at least 10 - 12 quarts) of water on the stove to boil
3. I would recommend getting a canning kit - but at the very least, you must have canning tongs for taking the jars in and out of the water, and a canning funnel for ladling the jelly into the jars. Here is a picture to the left.
4. Once your jars are sanitized (hopefully you will have done this while you are preparing the jelly), ladle the jelly into the jars, leaving at least 1/4 inch head space at the top of each jar.
5. Once you have ladled all of the jelly, one-by-one wipe the rims of the jars, place to lid on and tighten the ring on. You don't have to be a muscle man for this, just tighten to the best of your ability.
6. Now, once the water is boiled, drop the jars in with the canning tongs. Let boil for 10 minutes. Once 10 minutes have passed, take the jars out with the tongs and let sit for at least 24 hours.
7. The way you will know that the jars have sufficiently sealed, is by what I call, the Snapple test. If you are around my age, you will remember the refreshing fruit drink called Snapple and the obnoxious popping sound that the cap made when you pushed on it. It used to drive teachers nuts! Just like that sound was bad for teachers, this sound is bad for your jars. Push down on the middle of the cap of the jar and if it pops back up, like the Snapple cap, it hasn't sealed properly. Don't worry about this tests validity until 24 hours has passed. It is common for jars to come out of the boiling water making this sound. If the lid hasn't "popped" into place after a day, it probably won't and you will want to put the contents in the fridge and use it right away to make sure it doesn't spoil.

Here is the finished product:

Serve over roasted pork or with cream cheese and crackers as a yummy appetizer. Enjoy!

What is the best dish for a cold winter evening? Stew, of course!

Well, here we are, cloudy days are among us. When this happens, I get into soup/stew mode. That is about all I want to cook and eat. This week it was beef stew. As I usually say, I did not make up this recipe, per say. I basically took what sounded good from a bunch of recipes and combined it.
Here are the deets:

1 1/2 lbs Stew beef (New Seasons has great quality beef - I always cut mine into smaller pieces than the butcher. Make sure they are about 1 inch square)
1 quart organic beef stock
1 package organic onion dip mix (This is really all the salt you need, and it is tasty! The reason I buy this kind is that it does not contain MSG)
1 Stout beer (like Guinness - this adds some good flavor!)
1 small can of tomato paste (This will offset the bitter of the beer)
1 white onion, chopped
4-6 carrots, chopped
2 stalks celery, chopped
2-3 large or about 10 small potatoes, diced into 1/2 inch pieces
4-6 cloves garlic, chopped (I like a lot of garlic!)
Optional:1-2 cans cream of mushroom soup

Here are some pictures for your viewing pleasure:

Wasn't that fun?! Okay, now what do you do with all of the ingredients? Listen carefully, this is really complicated: You pour them all into a crock pot and stir. Whew! That was difficult! If you have not discovered the amazingness of the crock pot, get ready! You can get all of the ingredients together the night before and then in the morning, set the crock pot on low and go about your day! You can even leave it cooking while you are at work. The best!

Here is a picture for all you visual learners:

Bon Appetit!

Kale Chips, mmmmm!

This is a no-brainer recipe, but it is so good and great for you! Every child I know, except my husband, loves them. :-)
Here is what you need:
1 bunch Kale, really any kind, cut into chip-size pieces
2 -3 T olive oil
salt and pepper to taste

All you do is toss the chopped kale with olive oil, salt and pepper in a large bowl, spread out the kale on a cookie sheet, and bake at 400 degrees for about 15 minutes, until it is nice and crunchy.

I love snacking on this before or during dinner. It has the crunch of a potato chip, nutty flavor and it's crazy good for you!


Here is the finished product.


Don't believe this taste tester...he will probably contract skurvy.

Monday, October 17, 2011

Football? Buffalo Chicken Dip is a must!


I don't watch football. If Mike is watching it, I am usually grading papers, cooking or (right now) blogging. A couple of years ago, my sister made this amazing dip for some family event, and I have been making it during fall football or any fall night, for that matter, ever since. Again, full disclosure, I did not make up this recipe, I have only tweaked it to my own liking.

It's super easy!
Here is what you need:
2lbs or 4 chicken breasts, boiled and then shredded (the best way to do this is either with your hands, or with two forks, simply pull the chicken with each fork)
1 bottle Frank's Hot Sauce
1/2 bottle (about 1 cup) blue cheese or ranch dressing (I've had it both ways and prefer blue cheese, but both are good!)
1 block low-fat cream cheese (If you read my first blog, you know that I like to cut at least one fat corner in my recipes, when it doesn't affect the taste - this does not need to be full fat, I can never tell a difference.)
1 package or 2 cups shredded mozzarella or cheddar cheese (Again, I have tried both and sometimes when I feel really crazy, I COMBINE them! They both taste good!)
Update (10/18/11): I forgot an important ingredient! My brain is till trying to get used to writing my recipes down, forgive me! Anyways, celery! I hate celery by itself, but it is a regularly stocked item in my fridge for its addition to soups and casseroles. Our friend, Blake, came over and made this recipe about a month ago and he added celery to his version, I was sold! It adds a little crunch to the texture without messing with the taste. I digress...
2 stalks chopped celery

Okay, here is where you have to make a decision. I have cooked this recipe two different ways, I like them both: In a pan in the oven (cheese is brown and bubbly on top) or....in a crock pot (cheese is mixed in.
Whichever vessel (love that word!) you go with, you will want to combine the chicken, hot sauce, dressing & cream cheese together. If you decide to bake in the oven, sprinkle the cheese on top. If you decide to do this in a crock pot, (you guessed it!) mix the cheese into the other ingredients.
Either way, cook for at least 30 minutes (350 degrees in the oven).
As with all of my recipes, I am terrible with accuracy in cooking times. I always guess when creating my own. So, I trust you to be able to do what I do: taste test or visual check at this point. If it doesn't look quite right, go another 10 minutes and check again, until you are happy. Trust yourself!
When you are happy with the taste, serve to your hubby and/or guests with tortilla chips or baguette slices. Or just freakin' lick it off a spoon! It is so delicious! Enjoy!


Here is a pic of the finished product after I had served half of it...I was so excited, I forgot to take a pic before I had served it.

Mike and his tummy are happy!

P.S. I am attempting to make pepper jelly tomorrow...I'll keep you posted!

Saturday, October 15, 2011

Today's dinner: Chicken and Dumplings

Today I made chicken and dumplings. Normally, I find many recipes online and then I take things I like from each one, but today, I used just one that was excellent!
The Pioneer Woman's Chicken and Dumplings: http://thepioneerwoman.com/cooking/2010/12/chicken-and-dumplings/

Here is how it all started: I went to Costco on Monday. Every time I am at Costco, I see the rotisserie chickens and I always debate buying one. I keep hearing how good they are. Finally, I was feeling a little wild, so I bought one (ha, ha!). All week I was busy and fighting a cold, so it just sat there in the fridge...all week.
Finally, with work done for the week, I decided it was time to do something. As I normally do, I googled the recipe I wanted. The one that looked best, was Pioneer Woman's recipe; plus, she is really witty! Below, I will give a few comments about things I tweaked, or would tweak, if I did it again:

1. As mentioned above, I used a rotisserie chicken, which comes already cooked. The chicken had some awesome juices on the bottom of the container. I began by putting the chicken in a large Dutch Oven on low heat. This got all the juices flowing from the bottom of the bird.

2. While the bottom of the bird was doing it's thing, I started dismantling the bird. This was the first time I have done this. Try not to think of this as a previously live animal. Think of it more as a puzzle that you are taking apart....yeah....a puzzle. Anyways....this was a first for me. I just ripped that sucker into pieces, separating all of the good meat into one container, the skin and yucky stuff into another (to throw away) and the bones were being put into a separate pot of boiling water for a broth. I felt like it was important to use as much of the chicken as possible.

3. This brings me to the next difference in my recipe. The recipe calls for 6 cups of chicken broth. I happened to have 3 cups worth in the fridge from a previous cooking adventure, so I used that, as well as creating 3 cups of my own with the chicken carcass (I hate that word...carcass...let's call it a chicken meat vessel - I love the word vessel). Making a broth is easy: just put the chicken bones in a pot of water, boil for at least 30 minutes, and then strain the liquid from the bones. Voila! Chicken broth.

4. So once the dismantling process was complete, I combined everything. I created a roux to add to the concoction because the Pioneer Woman's recipe says that the flour from the chicken helps thicken. Since I didn't use floured chicken, I added my own thickener. Roux is easy as well. I melted 2 Tbsp. of butter and then whisked in 2 Tbsp. of flour to form a lump free paste. This gets stirred in to the broth to help thicken it up a bit.

5. At this point, I had the roux, mirapoix (mixture of carrots, onion and celery), turmeric and thyme in the pot - btw (that means, "by the way"), the turmeric may seem strange, but is a must! It added some great flavor and color! As I was saying, I then added my two broths, half and half and the apple cider (another strange must have!).

6. Here is the one thing I would change if I did it over again: Pioneer Woman claims that the corn meal is a must for great dumplings, I say, gag! It was the only thing I regretted about the recipe. The only thing I can think is that I either need to get a finer ground corn meal (I used medium) or use less or none. It just added too much crunch to the dumplings. I like a really bready dumpling.

7. I always try to cut at least one fat corner somewhere in the recipe...it is important for a good recipe to have a good taste, but I find there are certain places you can cut that really don't make a big difference. For this recipe, I decided that would be the dumplings. Instead of half and half, I used my favorite new find: FAT FREE half and half. This is the best invention ever! I find that fat free half and half is not that great when used as a main cream factor in a cream based soup (it can be a bit curdly), but in areas where texture is not a factor, it is great!

8. One more thing to note: I was surprised how fast this recipe took. Maybe an hourish total...including the dismantling. It tastes like it took all day - I say, Milk it!!

Anyways, this recipe was Mike (my picky husband) approved, which really says something. Next time you are at Costco, and you find a wild hair....buy the chicken! You won't be sorry!

Prior to the dumplings....already lookin' good!


The finished product, after a few servings have been eaten! Yummers!

Finally....

I have been wanting to do a cooking blog for a while. If only just to keep track of the recipes that I make. Full disclosure: I often just google the name of a recipe I want to cook, look at a number of different recipes and then just wing it. Does that make my recipes original? I don't know, and I'm not claiming to be original. Think of my blog as about someone who has tried out a new recipe and is letting you know how it went.
Here we go!