Some of the items I got were: jams, granola, fruit leather (I hope to make this as soon as I get my new Vitamix!), lemon curd, applesauce, kombucha, and...PESTO! I have been grazing on all of the goodness all weekend. Last night I decided to make creamy pesto chicken pasta. This has always been one of my favorites. I have made pesto a few times and would use my own to make this. Well, I can definitely say I have never had pesto as yummy as what I used last night.

Here are the ingredients you will need for this dish:
- 1 lb pasta - I used a penne
- 1 lb chicken breasts (season and then bake in the oven at 425degrees for 15 minutes on each side)
- 2 T butter
- 2 T flour
- 2 1/2 Cups Milk (I used 1%, but you could use whole if you wanted*)
- 4 oz Pesto (I hope you have good friends that make it homemade - if not, I will post a recipe later this summer)
- Salt and pepper to taste
Preheat oven to 425 degrees. Place the chicken on a foil lined pan. After the chicken has baked halfway, start the water for the pasta and make a roux. Making a roux is the start of a basic cream sauce. It is one of the best basic cooking techniques to know. My dad taught me how to make a roux and I am forever grateful. When you think roux, think Chuck Woolery: 2 and 2. Two tablespoons flour, 2 Tablespoons fat - mostly butter. Melt butter in the pan and once it is melted, whisk in two tablespoons flour until you have a past. The whisk is helpful because you don't want lumps. Once you have cooked your roux for a few minutes, it is time to get your cream on! Just add milk - you guessed it - 2 cups. In the case of this dish, I added a little bit of extra milk - trust me.
Constantly whisk the milk with the roux until it just starts to boil. Without extra milk, your sauce would now start to thicken into a perfect cream sauce. In this case we added a bit of extra milk, so it won't be quite as thick - do not panic!
If you haven't already, add your pasta to boil. You want to cook this about 7 minutes, or until al dente. What is al dente you ask? Al dente is about texture. It is the magic point when pasta is done, but not quite soft.
While the pasta is cooking, add your magnificent pesto to the sauce. I had a 4 ounce jar and I used the whole thing. I probably could have added more too. Keep adding and tasting until you have a taste you like. At this point (assuming your pasta is done), add your pasta. Let the mixture come to a slight boil for just a minute to get all of that sauce soaking into the pasta. You don't want it to cook too long or it will get mushy.
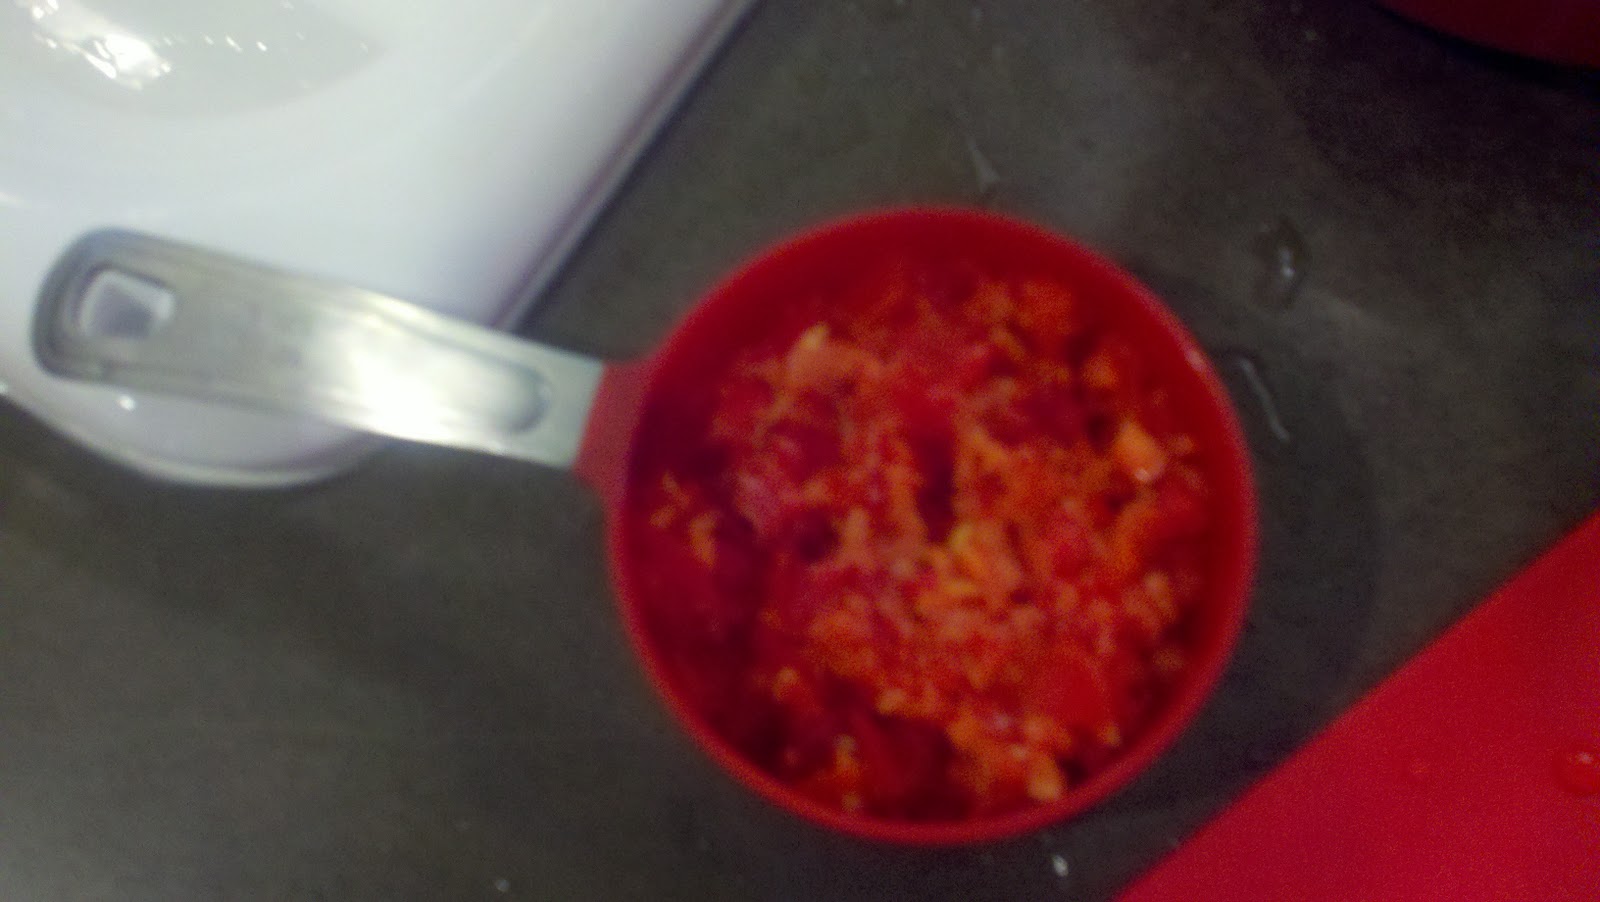
At this point, hopefully your chicken is done and has had time to rest for about 5 minutes. Letting any meat rest after cooking is super important, so that all those juices get locked into the meat. Slice the chicken and stir it in with the rest of the dish. Voila! Super yummy! To give it some extra freshness, add tomatoes in. My husband isn't a fan, so I didn't do this.
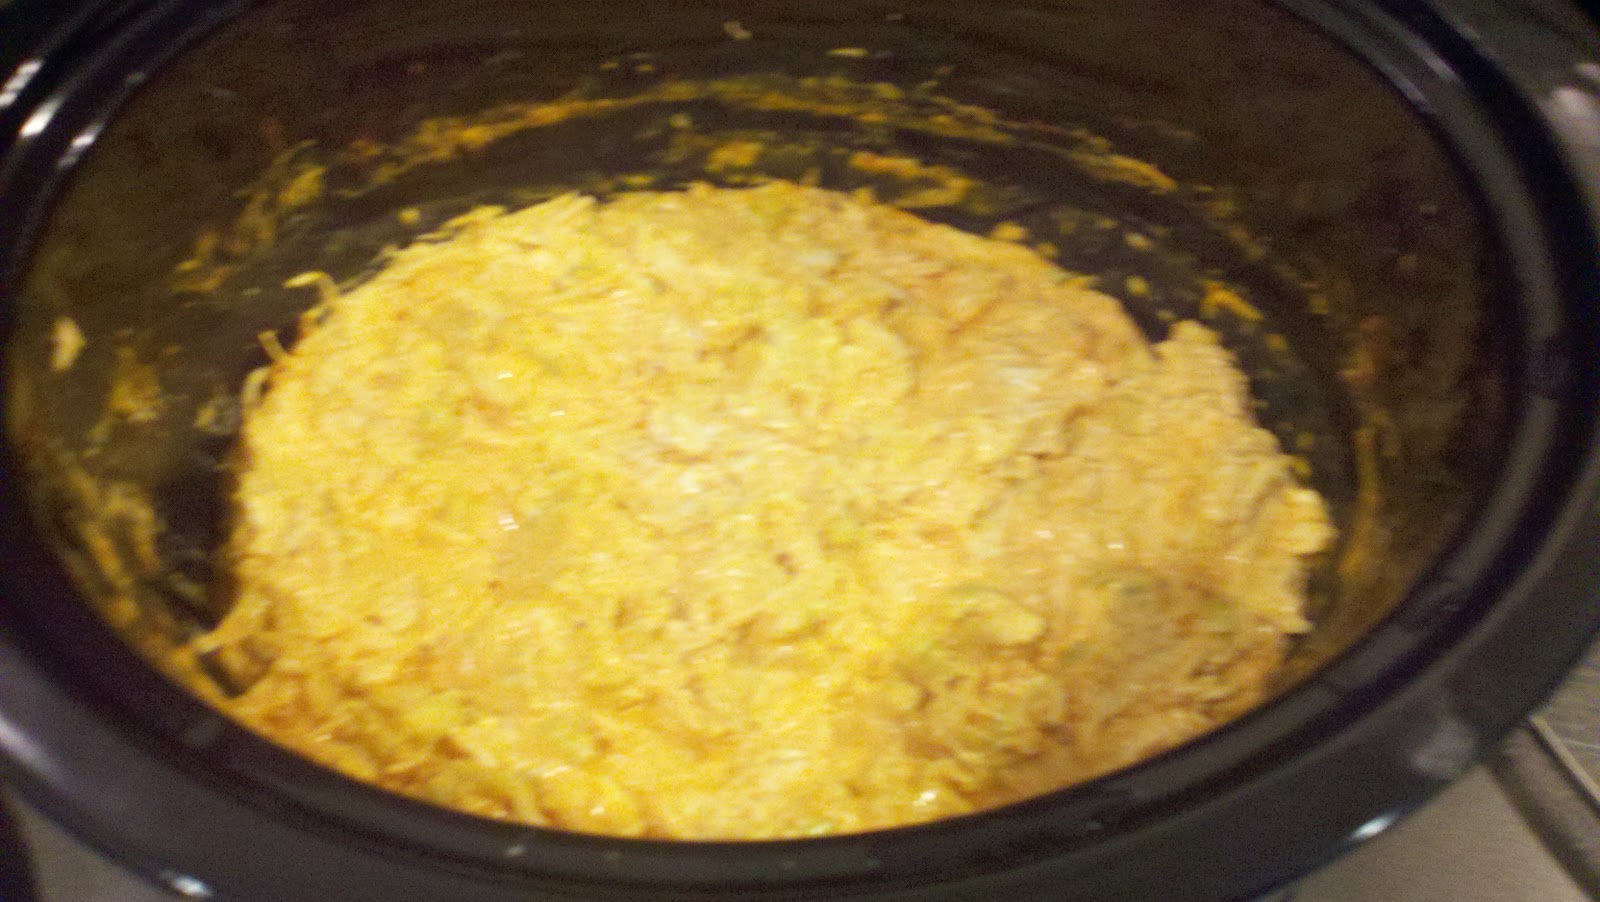
Here is the finished product:

Bon Appetit!
*